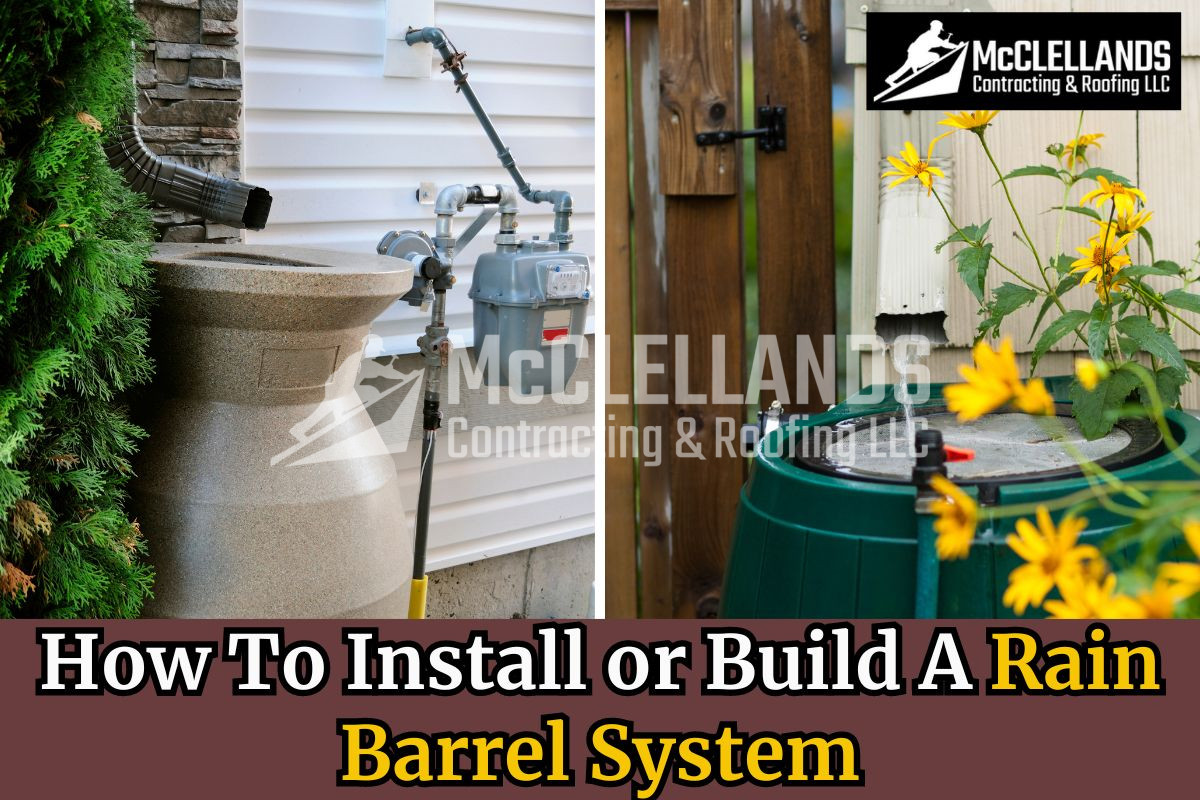
We all know how valuable water is as a resource, and preserving it helps the planet and your wallet. One of the easiest and most effective ways to conserve water is to install a rain barrel system. This system stores rainwater from your roof, giving you an easy way to water your garden and lawn.
This blog post will walk you through the process of installing a rain barrel system for your home.
What Is A Rain Barrel System?
First, let's try to understand what a rain barrel system is. To put it simply, a rain barrel system is an easy and useful way to collect and store rainwater from your roof. You can use this water later for plants, gardens, or for washing cars.
The system usually includes a barrel or tank placed at the end of a downspout to catch rainwater. Rain barrels help save city water, reduce water runoff, and provide free water for outdoor use. They are good for the environment and help homeowners save money while managing water sustainably.
Generally, a rain barrel system has the following components:
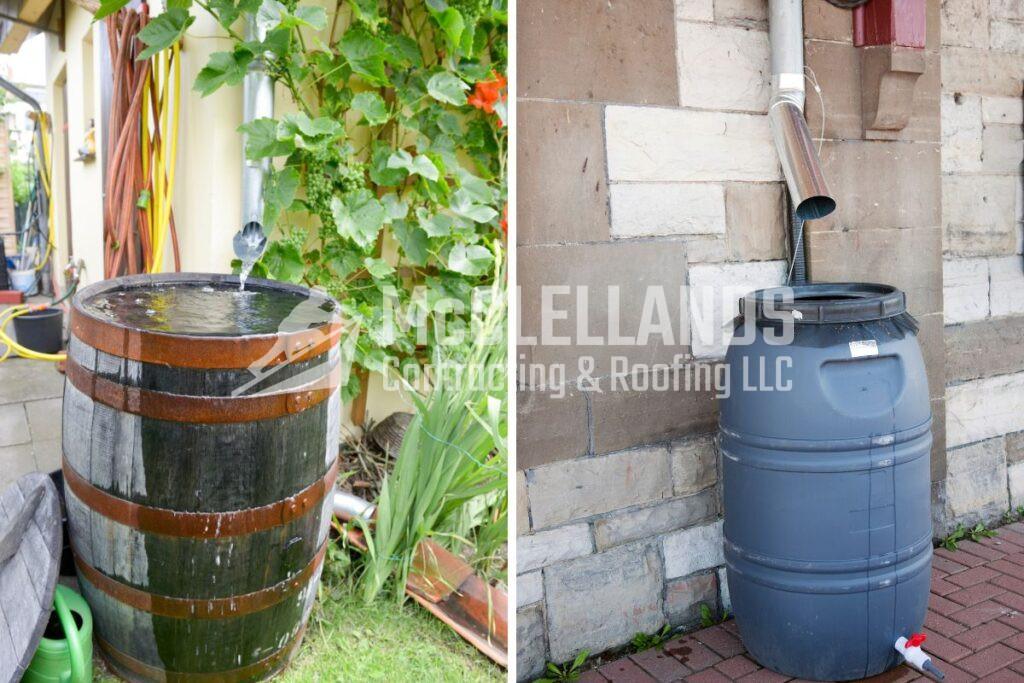
- Rain Barrel: A large container usually holds 50-80 gallons of water.
- Downspout Diverter: A device that guides water from the gutter downspout into the barrel.
- Spigot: A faucet at the bottom of the barrel for easy access to the water.
- Overflow Valve: A valve to manage extra water when the barrel is full.
Choosing the Right Location
The first step in setting up a rain barrel system is choosing the right spot. Keep these things in mind when picking a place:
- Near a downspout: The barrel should be close to a downspout to keep the diversion pipe short.
- Easy to reach: Put the barrel where you can easily fill watering cans or attach a hose.
- Flat ground: The barrel should be on level, stable ground to avoid tipping over.
- Looks: While how it works is most important, you might want to put it somewhere that looks nice or is out of sight.
Materials Needed
| Materials | Tools |
| Rain barrel (plastic or food-grade barrel) | Drill |
| Downspout diverter kit | Hole saw |
| Spigot | Pliers |
| Teflon tape | Screwdriver |
| Mesh screen | Utility knife |
| Waterproof caulking | |
| Overflow hose | |
| Cinder blocks or wooden platform (for base) |
Preparing The Site
Once you've found the best spot for your rain barrel, it's time to get the site ready. Here are a few ways to raise the barrel off the ground:
- Cinder blocks: Stack a few cinder blocks or concrete pavers to create a strong base. This setup improves water pressure and makes it easier to fill containers under the spigot.
- Gravel or sand pit: Dig a shallow pit and fill it with gravel or sand for a level, well-draining foundation. This works well if your ground is uneven.
- Wooden platform: Make a simple wooden platform, like a small deck or raised bed. It's both functional and looks nice under your rain barrel.
No matter which option you pick, make sure the base is flat and can hold the weight of a full rain barrel, which can be quite heavy.
Connecting To The Downspout
To redirect water from your downspout into the rain barrel, you have a few options:
- Rain diverter: This device attaches to your downspout and directs water into the rain barrel. It also allows excess water to continue down the downspout.
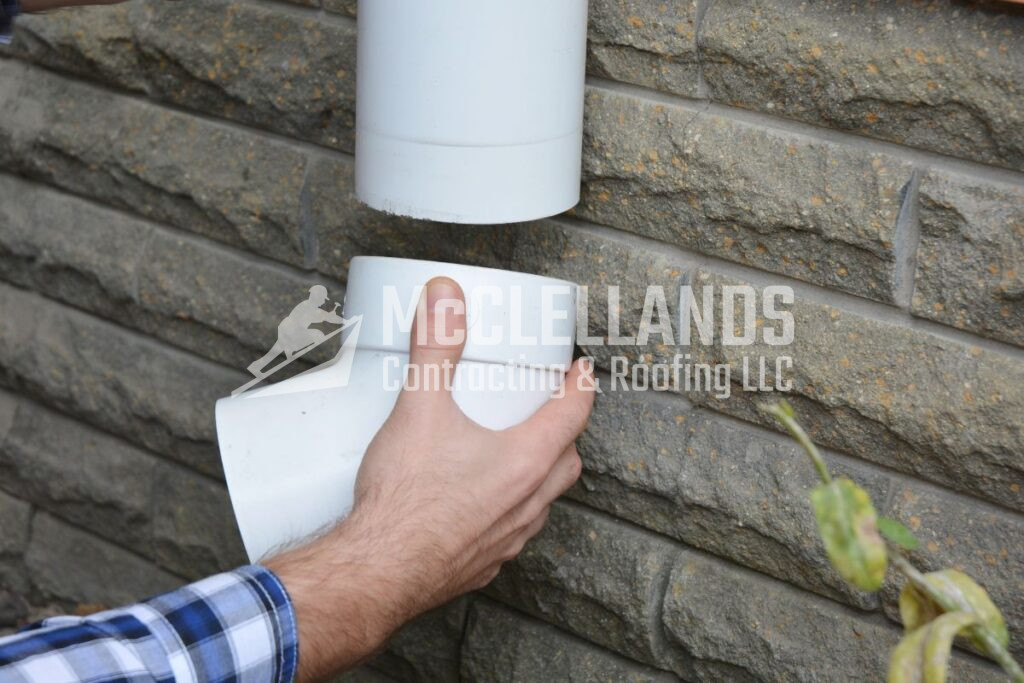
- Flexible downspout elbow: Use this flexible elbow to guide water from the downspout into the rain barrel's inlet. It's adjustable and less permanent than a rain diverter.
- Cutting the downspout: For more extensive changes, you can cut the downspout and attach a flexible hose or pipe to lead water into the rain barrel. Make sure to seal the original downspout opening to prevent leaks.
When connecting the downspout to the rain barrel, ensure a tight seal to avoid water leaks. You might need sealant, clamps, or other fasteners to secure the connection properly.
Installing the Rain Barrel
#1. Preparing the Rain Barrel
A. Cleaning the Barrel
Before installing your rain barrel, it's essential to thoroughly clean its interior to remove any residues or contaminants that may have accumulated during storage or transportation. This ensures that the water collected remains clean and suitable for gardening. Rinse the barrel thoroughly with clean water, and if needed, use a mild detergent to remove dirt and debris.
B. Drilling Holes
Using a hole saw, drill two holes in the barrel:
- Near the bottom for the spigot, which dispenses collected water.
- Near the top for the overflow valve, preventing overflow during heavy rain.
When drilling, wear safety glasses and use a sharp drill bit for precise cuts. Double-check hole placements before drilling.
#2. Installing the Spigot
Wrap Teflon tape around the spigot threads for a tight seal. Insert it into the bottom hole and secure it with waterproof caulking to prevent leaks.
- Installing the Overflow Valve
Attach the overflow valve to the top hole using Teflon tape and caulking. This valve directs excess water away during heavy rainfall, preventing overflow.
#3. Installing the Downspout Diverter
A. Measuring and Cutting the Downspout
Measure the rain barrel's height and mark the downspout accordingly. Cut the downspout at the mark using a utility knife or hacksaw, ensuring a smooth edge.
B. Attaching the Diverter
Insert the diverter into the cut section following manufacturer's instructions. Use screws or brackets if needed for a secure fit.
C. Connecting the Diverter Hose
Attach one end of the diverter hose to the outlet and the other to the barrel's inlet. Use hose clamps or caulking for a secure seal.
#4. Securing and Stabilizing the Rain Barrel
A. Creating a Stable Base
Elevate the barrel with cinder blocks or a wooden platform on level ground for stability. This facilitates easy access for filling containers.
B. Securing the Barrel
Use straps or bungee cords to fasten the barrel to a nearby structure to prevent tipping in strong winds or when full.
#5. Installing the Overflow System
A. Attaching the Overflow Hose
Connect the overflow hose to the barrel's overflow valve securely, ensuring no bends or kinks restrict water flow.
B. Directing Water Away
Position the hose end at least 6 feet from your home's foundation, directing water towards grass or a storm drain to prevent foundation damage.
Also Read: Do Roofers Work In The Rain? All About Roofing & Weather
Benefits Of Using A Rain Barrel System
1. Reduces Runoff and Chances of Damage
Rain barrels capture rainwater from roofs, preventing it from pooling around foundations and seeping into basements. This reduces the chance of water damage.
2. Conserves Water
Using stored rainwater for gardening, lawn watering, and cleaning reduces reliance on municipal water, potentially saving homeowners money on their water bills.
3. Provides Clean Water for Plants
Rainwater is naturally soft and free of chlorine and other chemicals found in treated tap water, making it healthier for plants.
4. Convenient and Easy Installation
Rain barrels are affordable, costing $100 to $200, and straightforward to set up under a downspout, requiring minimal maintenance beyond occasional debris cleaning.
Are Rain Barrel Systems Legal?
Rain barrel systems are usually OK to use, but rules might apply depending on where you live. Many areas support collecting rainwater to save water. However, certain states and cities have laws about how rainwater can be collected and used.
These regulations might require permits, limit how much rainwater you can collect, or say how you can use it. Before you set up a rain barrel, check with local officials to know the rules in your area.
Conclusion
Installing a rain barrel system is an easy and affordable project that brings both environmental and financial benefits. With the help of this blog post, you can create a sustainable water source for your home, helping conserve water and reduce water bills. If you're interested in improving your home's water management, trust McClellands Contracting and Roofing for the best gutter services. We specialize in efficient gutter systems that complement rain barrel installations, ensuring seamless integration for maximum water conservation. Contact us at (412) 353-5660 for gutter solutions you can rely on.
