Are you thinking about getting rid of old attic insulation but aren’t sure where to start? This blog post will help you with five simple steps to efficiently remove attic insulation, making sure your home stays warm and cozy. We've carefully planned each step to make the whole process as easy as possible, from inspecting the insulation to disposing of it properly. Explore this helpful guide for all the information you need for a successful home improvement project.
Steps for the Efficient Removal of Attic Insulation
The step by step instructions in the following section will give you the confidence to handle insulation removal successfully and safely, making your home improvement project a breeze.
Step 1: Identify and Inspect Your Insulation
The initial step in effective attic insulation removal is accurately identifying the type of insulation in your attic. There are common types such as batt and roll, blown-in, and spray foam, each requiring specific removal methods. A professional attic inspection is crucial for this task. Trained experts can spot potential hazards like water damage, mold, pest infestation, and hazardous materials. This identification sets the groundwork for a successful insulation removal project, addressing not only the insulation but also any underlying issues that might compromise your home's integrity.
Step 2: Create a Removal Plan
Once you've identified the insulation type and potential hazards, the next step is creating a removal plan. The removal process can be done by hand or machine, with machine removal being more efficient for certain types of insulation and conditions. Factors influencing removal time and cost include attic size, type of insulation, presence of hazards, and the chosen removal method.
A well thought out removal plan ensures not only efficiency but also cost effectiveness. It allows for a streamlined approach, minimizing disruptions to your daily life while addressing the insulation issue promptly.
Blown Cellulose Insulation:
When you're taking on the task of getting rid of insulation, it's crucial to be precise and organized. If you're dealing with blown cellulose insulation, start by getting your equipment ready, including a commercial vacuum, and setting up your work area. Use the vacuum and other tools to carefully gather the insulation, making sure to take necessary breaks.
Fiberglass Batt Insulation:
Fiberglass batt insulation involves similar preparations. Get your commercial vacuum ready, put on the necessary protective gear, and roll up each piece of insulation by hand. Use the vacuum to thoroughly clean the attic floor.
Step 3: Prioritize Health and Safety
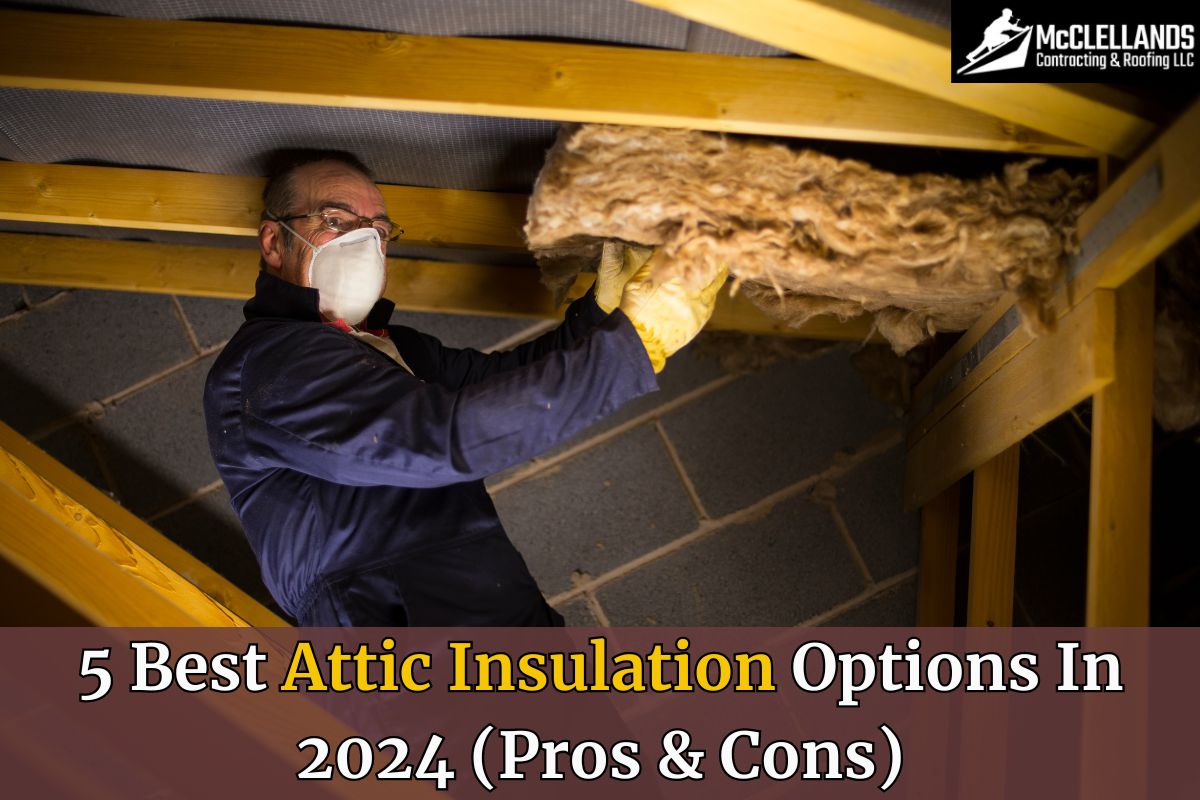
Attic insulation removal is not a task to be taken lightly when it comes to health and safety. Workers involved in the removal process must adhere to strict safety precautions, including wearing protective gear such as masks, gloves, and goggles. This is crucial to prevent exposure to insulation particles and potential contaminants.
To contain the spread of insulation particles, it's important to seal off the house during the removal process. In cases where asbestos is present, following asbestos abatement practices is non-negotiable. Opting for professional insulation removal services ensures a thorough evaluation, hazard mitigation, and adherence to proper disposal methods, prioritizing the health and safety of everyone involved.
Step 4: Dispose Responsibly
Proper disposal of removed insulation is a critical aspect that is often overlooked. Improper disposal can lead to environmental hazards and legal consequences. Professional removal services are equipped to handle this responsibility. They follow guidelines for environmentally friendly disposal, ensuring that materials are recycled or disposed of in accordance with local regulations. By opting for professional removal, you contribute to sustainable waste management practices and guarantee a clean and safe attic.
Step 5: Post Removal Inspection and Maintenance
After completing the insulation removal, it's time for a post removal inspection to ensure all hazards have been effectively mitigated. This step provides peace of mind, knowing that your home is free from potential threats such as mold, pests, and harmful materials.
Implementing proper post removal maintenance measures is equally crucial. This may include addressing any repairs needed due to water damage or other issues identified during the removal process. Regular maintenance ensures the long term effectiveness of the insulation and prevents future problems.
Effective attic insulation removal involves five smart steps: identifying the insulation type, creating a removal plan, prioritizing health and safety, disposing of removed insulation, and conducting post removal inspection. By following these steps, you enhance the comfort and energy efficiency of your home while contributing to a healthier living environment. Attic insulation removal requires a proactive and professional approach to ensure the well being of your home and its occupants.
Bonus Tips for a Seamless Attic Insulation Removal
Now that you've tackled the core steps for effective attic insulation removal, let's delve into some additional tips to ensure a seamless experience:
Tip 1: Check for Air Leaks and Seal Gaps
Before installing new insulation, take the opportunity to inspect your attic for any air leaks or gaps. Seal these openings using caulk or foam spray to enhance energy efficiency and maintain a consistent temperature in your home.
Tip 2: Upgrade to Energy-Efficient Insulation
Consider upgrading to energy-efficient insulation materials. Options like spray foam or blown-in insulation can provide better coverage and improved energy savings. Consult with a professional to determine the best insulation type for your specific needs.
Tip 3: Schedule a Professional Inspection
After insulation removal, schedule a professional inspection of your attic. Experts can identify potential issues, such as roof leaks or ventilation problems, ensuring a comprehensive solution to maintain your home's integrity.
Tip 4: Monitor Moisture Levels
Keep an eye on moisture levels in your attic. Install proper ventilation to prevent condensation, as excessive moisture can lead to mold growth and compromise the effectiveness of your insulation.
Tip 5: Consider Hiring a Professional
If the insulation removal process seems daunting, or if you encounter challenges beyond your expertise, don't hesitate to hire a professional insulation removal service. They have the knowledge and equipment to handle the job efficiently and safely.
Conclusion
At McClellands Contracting and Roofing, we understand the importance of a home that is not only comfortable but also energy-efficient. Effective attic insulation removal, guided by the five smart steps we've discussed, is a crucial element in achieving this goal. As a trusted provider of roofing and contracting services in Pittsburgh, PA, we want to ensure that your home remains cozy and safe for years to come.
We encourage you to schedule a comprehensive roof inspection. Regular maintenance and periodic checks on your attic's condition play a pivotal role in the longevity and efficiency of your insulation. Our team is dedicated to providing top notch roof inspection services in Pittsburgh, PA.
If you're looking to enhance the performance of your insulation or if you have any concerns about your roof's condition, don't hesitate to reach out to McClellands Contracting and Roofing. Contact us at (412) 353-5660 for reliable and professional roof inspection services. Let us help you ensure that your home remains well insulated, energy-efficient, and a comfortable space for you and your family.


