This article is your go-to resource for mastering the art of drip edge installation. Whether you're a seasoned DIY enthusiast or new to roofing, this guide is designed to simplify the process and equip you with the knowledge and skills you need.
With clear step-by-step instructions and valuable tips, you'll discover how to protect your roof from water damage and ensure its longevity. Say goodbye to uncertainty and hello to a seamless installation experience. Get ready to dive in and become a drip edge installation pro.
What You Will Need: Essential Tools and Materials for Installing a Drip Edge
To ensure a successful drip edge installation, you'll need the following tools and materials:
1. Measuring tape: Essential for accurately measuring the length of the drip edge.
2. Tin snips or aviation shears: Used to cut the drip edge to the desired length and shape.
3. Hammer: Required for securing the drip edge in place with nails or roofing screws.
4. Roofing nails or roofing screws: Used to fasten the drip edge to the roof.
5. Caulk gun: Needed to apply roofing sealant or caulk along the edges of the drip edge for added waterproofing.
6. Roofing adhesive: If using a self-adhesive drip edge, this helps it bond securely to the roof.
7. Ladder or scaffolding: Depending on the height of your roof, you'll need a stable platform to safely access the installation area.
8. Safety goggles and gloves: Protect your eyes and hands during the installation process.
9. Drip edge material: Choose a drip edge that suits your roof type and climate. Common materials include aluminum, galvanized steel, and PVC.
10. Underlayment: In some cases, an underlayment material may be necessary to provide additional protection and ensure a proper seal.
Having these tools and materials ready before starting your drip edge installation will make the process smoother and more efficient.
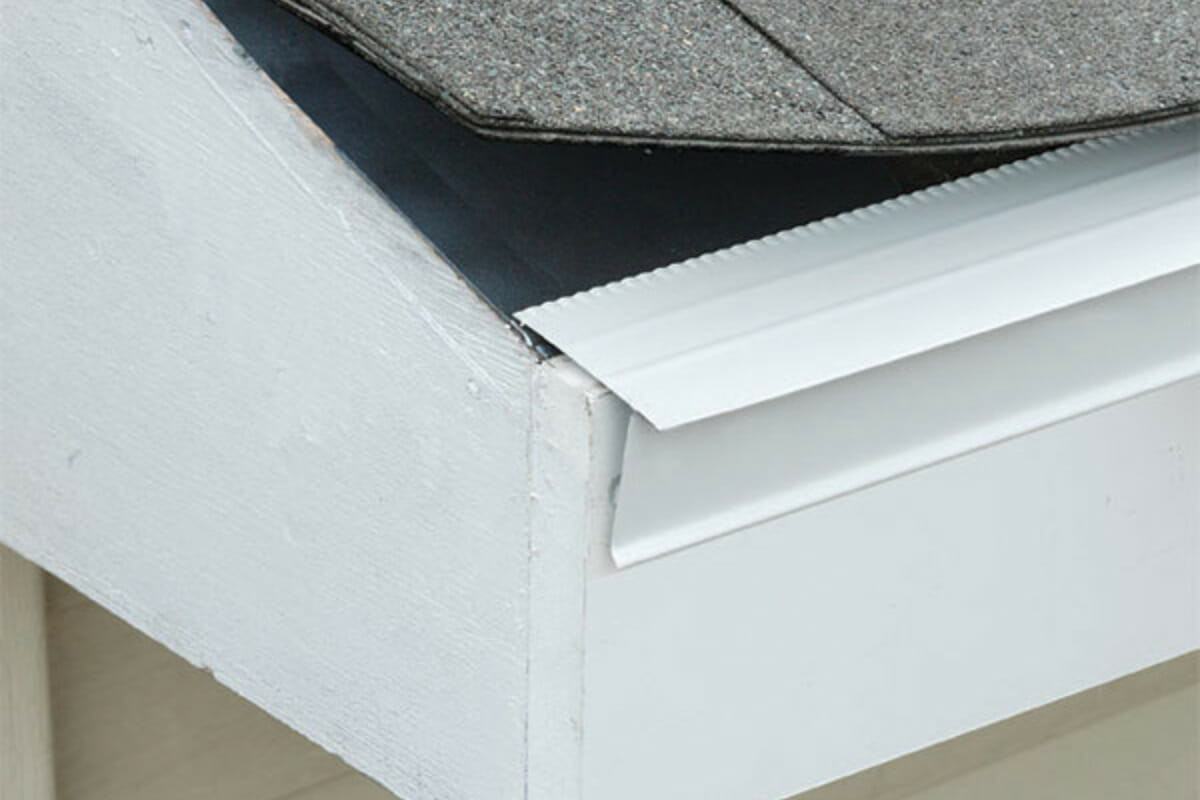
Preparation: Getting Ready for Drip Edge Installation
Before starting the installation of a drip edge, it is important to take a few preparatory steps to ensure a smooth and successful process. Here are some key preparatory steps to consider:
1. Safety first: Ensure that you have a safe and stable working environment. Clear the area of any debris or obstacles that could pose a hazard. Use appropriate safety gear such as gloves, safety goggles, and sturdy footwear.
2. Gather the necessary tools and materials: Make sure you have all the required tools and materials mentioned earlier. Double-check their availability and condition to avoid any interruptions during the installation.
3. Review the manufacturer's instructions: Read and understand the manufacturer's instructions for the specific drip edge product you are using. Familiarize yourself with any special installation requirements or recommendations.
4. Plan the installation layout: Determine the starting point and direction of the drip edge along your roof. Consider the slope of the roof and the desired water runoff direction. Plan for proper overlap and alignment to ensure effective water diversion.
5. Inspect the roof’s surface: Before installing the drip edge, inspect the roof’s surface for any damage, rot, or deterioration. Address any underlying issues or necessary repairs before proceeding with the installation.
6. Clean the roof edge: Remove any debris, dirt, or existing roofing materials from the edge of the roof. This will provide a clean and smooth surface for attaching the drip edge and ensure a secure installation.
7. Check local building codes: Consult local building codes or regulations to confirm you are in compliance with any specific requirements or guidelines related to drip edge installation. Adhering to these codes will help ensure the installation is done correctly and meets safety standards.
By completing these steps, you are setting the foundation for a successful drip edge installation and guaranteeing a durable and effective roofing system.
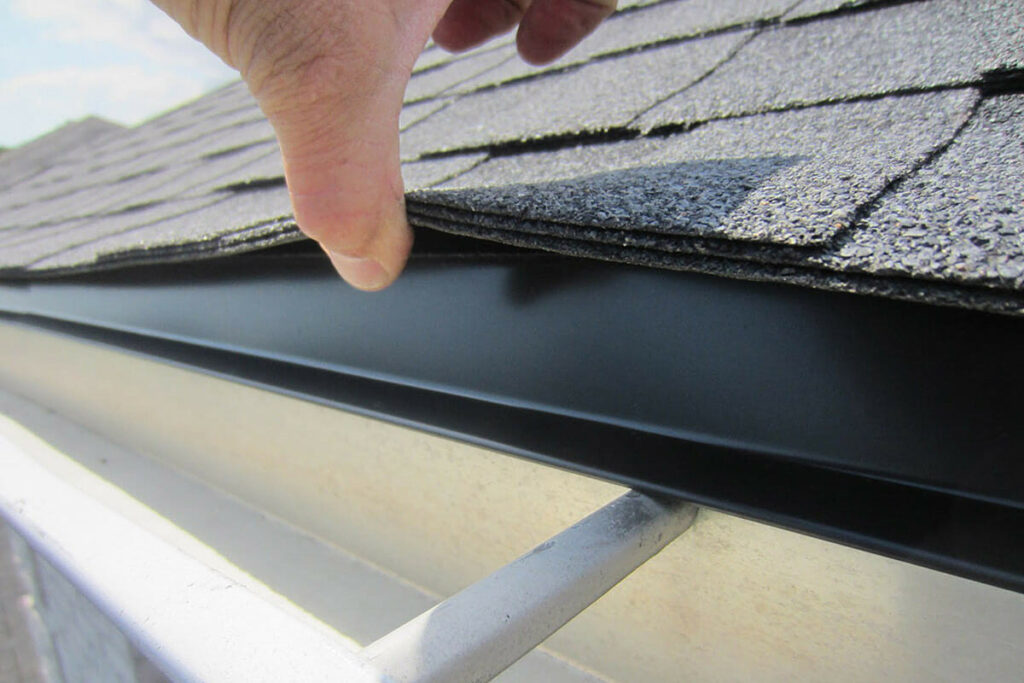
Installing the Drip Edge: A Step-by-Step Guide
Installing a drip edge on your roof doesn't have to be complicated. Follow these simple steps to ensure a proper and effective installation:
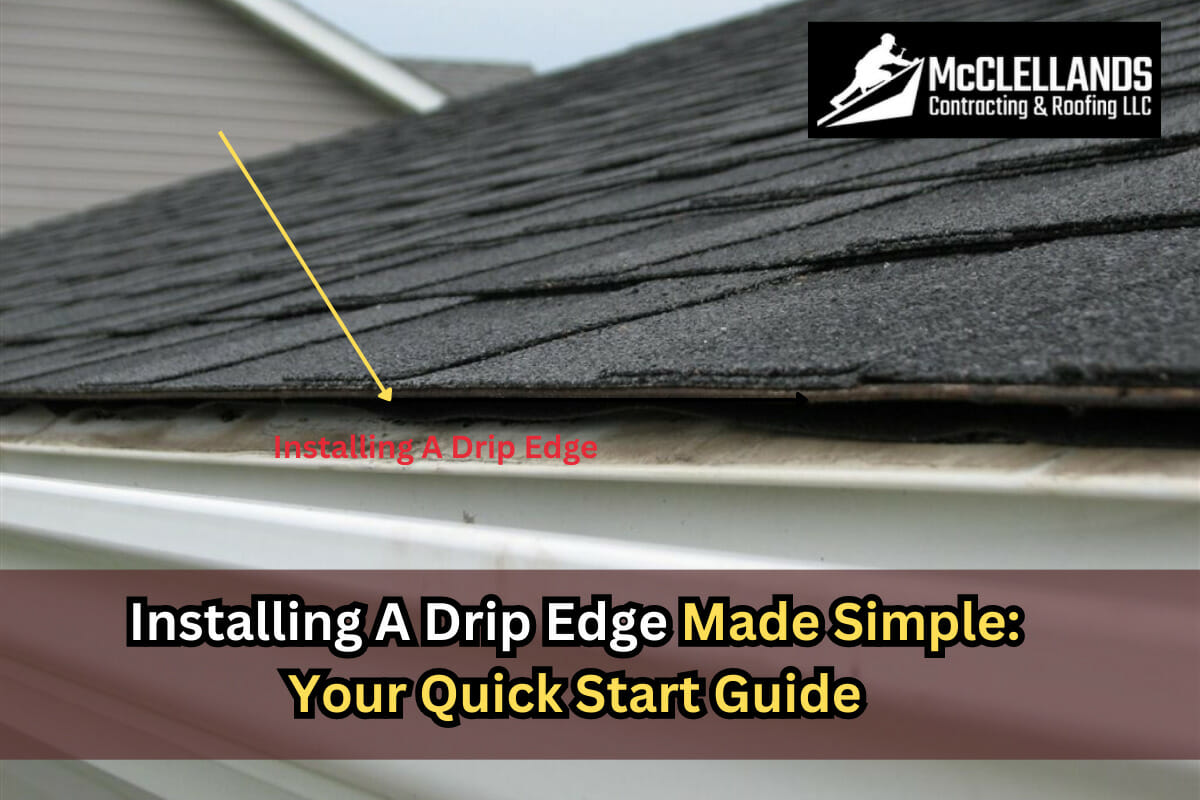
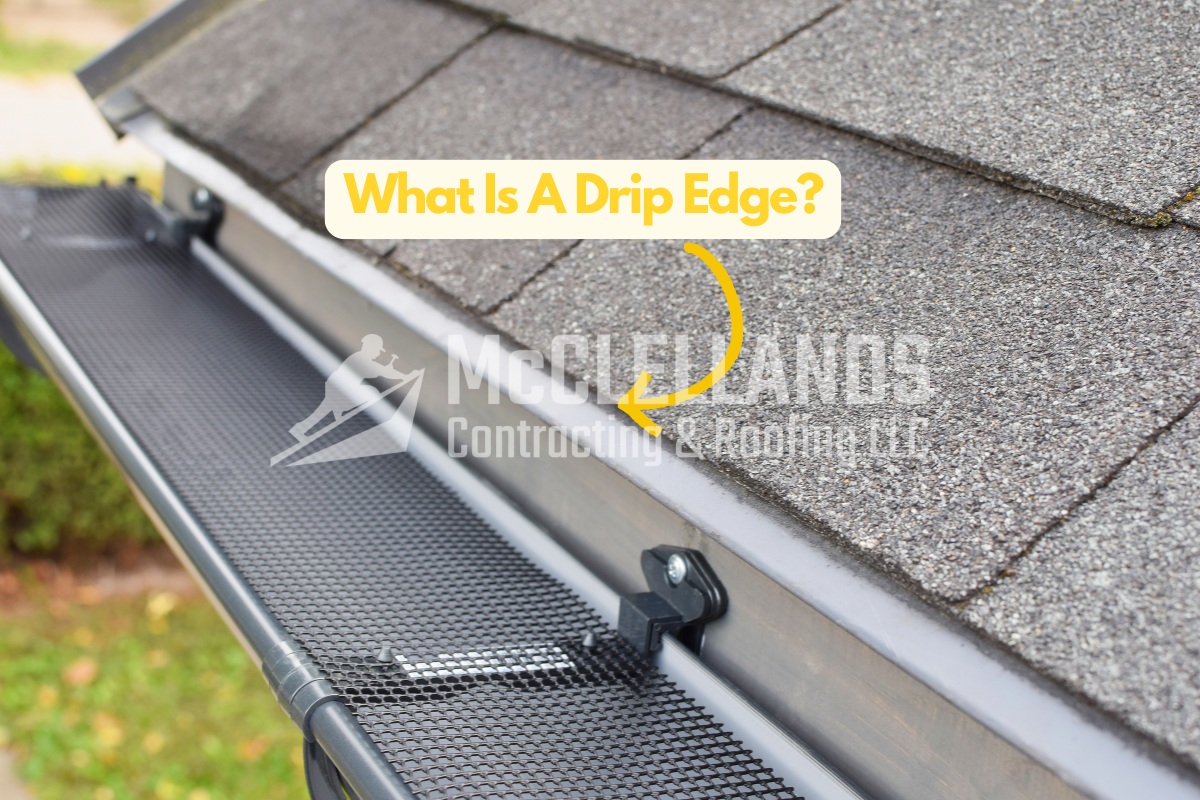
Step 1: Start at the eaves: Begin by placing the drip edge along the eaves of the roof, aligning it with the roof’s edge. Make sure the drip edge extends slightly over the edge to direct water away.
Step 2: Secure the drip edge: Use roofing nails or screws to secure the drip edge in place. Space the fasteners according to the manufacturer's recommendations, typically every 12 to 18 inches.
Step 3: Overlap the sections: When installing multiple sections of drip edge, ensure proper overlap between them. Typically, a two or three-inch overlap is recommended. This overlap prevents water from seeping between sections and provides a continuous barrier.
Step 4: Cut and shape the drip edge: If needed, cut and form the drip edge to fit around the corners and angles of the roof. Use tin snips or a suitable cutting tool to achieve the desired shape.
Step 5: Secure the corners: Pay special attention to the corners of the roof where the drip edge meets. Fold and secure the drip edge around the corners to maintain a tight seal and prevent water leakage.
Step 6: Check for proper alignment: Periodically check the alignment of the drip edge as you continue the installation. Ensure it remains straight and parallel to the roof edge for a neat and professional finish.
Step 7: Complete the installation: Continue installing the drip edge along the entire perimeter of the roof, following these same steps. Take your time to ensure each section is securely fastened and properly overlapped.
Step 8: Inspect and make adjustments: Once the drip edge is installed, inspect it for any loose or improperly secured sections. Make any necessary adjustments or re-secure any areas that may need attention.
By following these step-by-step instructions, you can install a drip edge on your roof with ease and confidence. Remember to refer to the manufacturer's guidelines and consult professional help if needed.
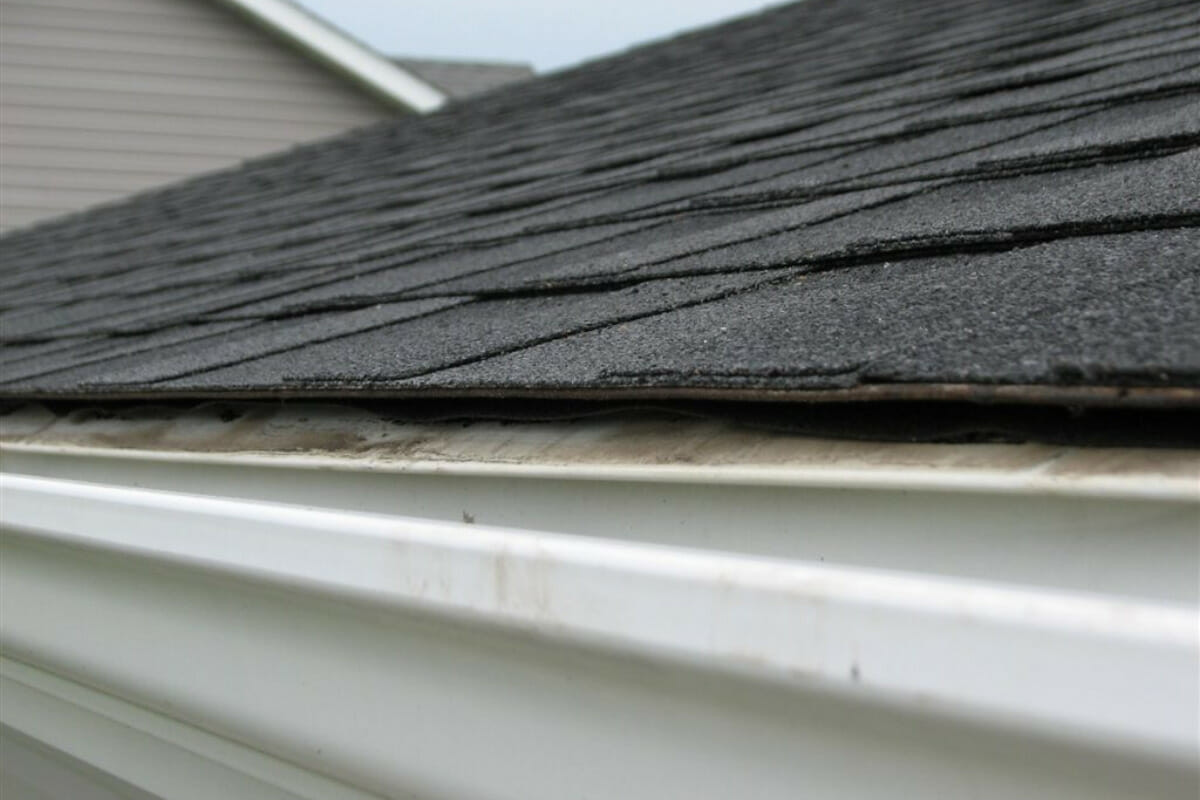
Common Mistakes to Avoid: Ensuring a Smooth Drip Edge Installation
When installing a drip edge, it's important to be aware of common pitfalls to ensure a successful installation. Here are some key mistakes to avoid and tips to prevent them:
1. Incorrect Measurements: Accurate measurements are crucial to ensure proper coverage. Measure the roof edges precisely and double-check that the drip edge extends adequately beyond the fascia board.
Tip: Verify all measurements and account for any potential variations in roof slope or eave size.
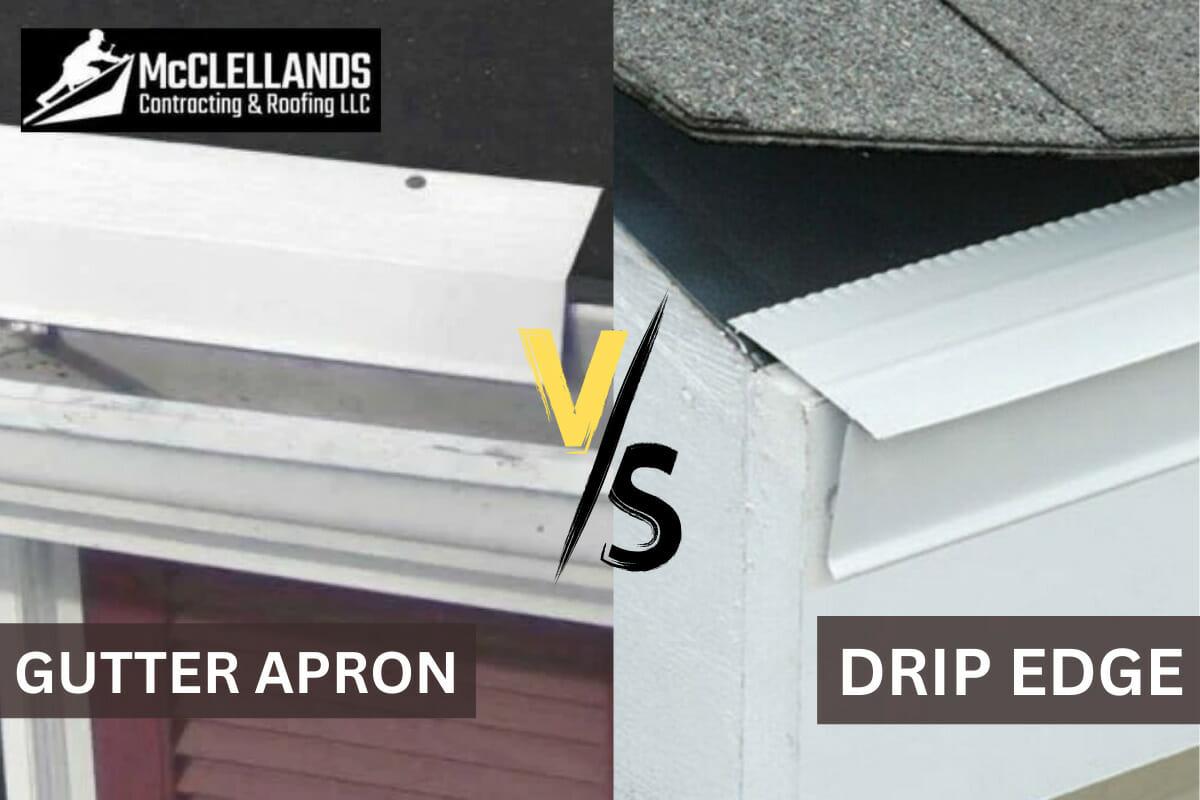
2. Improper Positioning: Placing the drip edge incorrectly can lead to water penetration and further issues. It should be positioned under the roofing material, extending over the eaves and into the gutter.
Tip: Follow manufacturer guidelines, align the drip edge parallel to the roof edge, and make sure it doesn't interfere with the shingle installation.
3. Insufficient Fastening: Inadequate or incorrect fastening can cause the drip edge to become loose or detached during severe weather.
Tip: Use appropriate fasteners such as roofing nails or screws, spaced according to manufacturer recommendations. Secure the drip edge firmly, especially around corners and joints.
4. Poor Sealing: Inadequate sealing can result in water infiltration and damage. Properly seal the drip edge to create a watertight barrier.
Tip: Use a high-quality roofing sealant or adhesive. Apply it generously along the joints, corners, and any gaps to ensure a strong seal.
5. Ignoring Building Codes: Neglecting local building codes and regulations can lead to issues and potential redos.
Tip: Check with your local building department to understand the specific requirements for drip edge installation and ensure compliance with the necessary standards.
By being mindful of these common errors and by following the recommended tips, you can achieve a successful drip edge installation. Remember, a well-installed drip edge plays a crucial role in protecting your roof from water damage, so it's worth taking the time and effort to do it correctly.
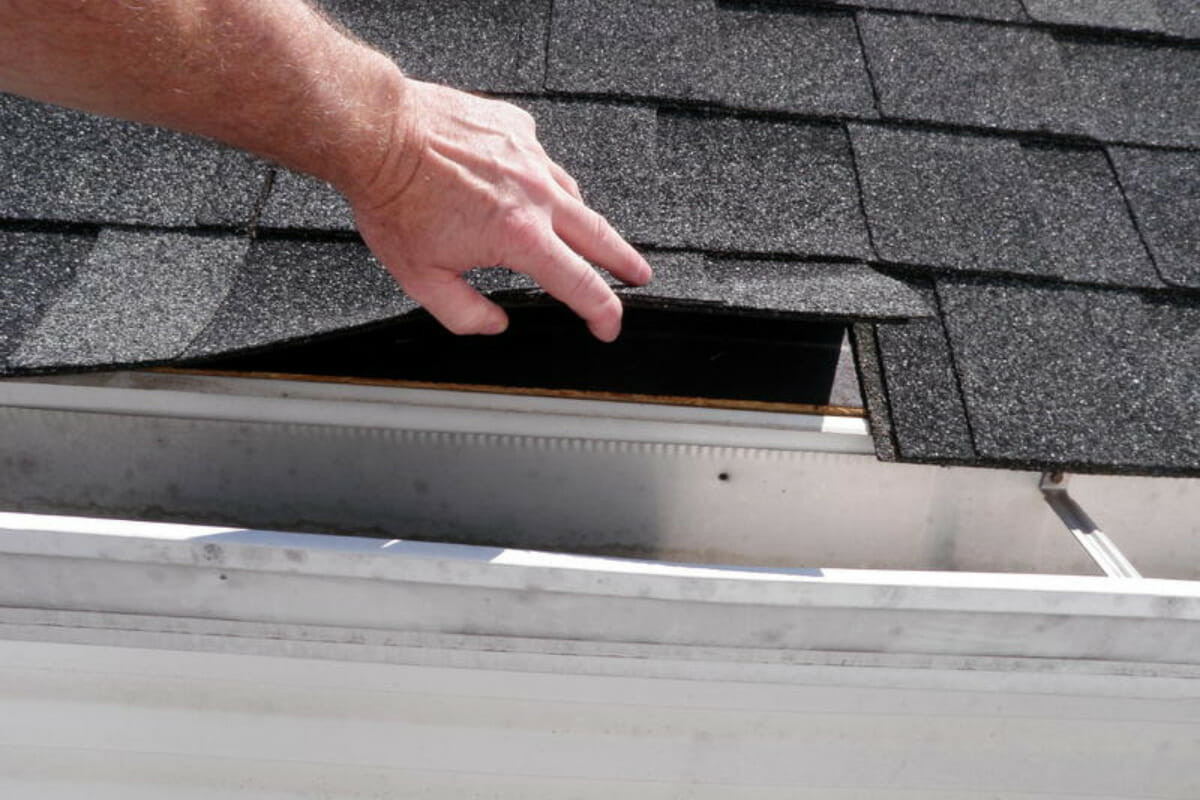
Conclusion
Installing a drip edge is an important step in protecting your roof from water damage. By following the steps outlined in this guide, you can ensure a successful installation. Remember to measure accurately, position the drip edge correctly, secure it firmly, seal all joints, and comply with local building codes.
Taking on this job is a worthwhile investment in the long-term health of your roof. Don't hesitate to start your own project today and enjoy the peace of mind that comes with a well-protected home.
If you need professional assistance or have any questions, you can reach out to McClellands Contracting and Roofing LLC in Pittsburgh at (412) 353-5660. We are roofing experts who can provide guidance and support for your drip edge installation.
So, go ahead and take the initiative to protect your roof further. Good luck, and enjoy the satisfaction of safeguarding your home for years to come!
FAQs
Q. How do I install a drip edge on a metal roof?
A. Installing drip edges on a metal roof follows a similar process as other roof types. Secure the drip edge along the eaves, ensuring it extends over the roof’s edge and into the gutter. Follow the manufacturer's instructions and use appropriate fasteners for metal roofing materials.
Q. How do I install a drip edge on a shed roof?
A. The process for installing a drip edge on a shed roof is similar to installing a drip edge on a metal roof. However, there are a few key differences. First, you will need to cut the drip edge to fit the shed's unique shape. Second, you may need to use a different type of fastener, such as a lag screw, to secure the drip edge to the roof.
Q. Should a metal roof overhang the drip edge?
A. Yes, metal roofs should overhang the drip edge by at least one inch. This will help to protect the roof from water damage.
Q. How much does a drip edge cost to install?
A. The cost of installing a drip edge varies depending on the size of the roof, the type of drip edge, and the labor costs in your area. However, in general, the cost of installing a drip edge is relatively affordable.
