Are you upgrading your home with new James Hardie siding? If so, you’re in the right place. Achieving a successful installation isn't just about following the steps, it's about understanding the critical aspects that ensure a long-lasting and visually pleasing result. In this guide, I'll share my expertise on how to install Hardie siding with meticulous attention to detail.
Let’s start with the basics.
Introducing James Hardie Siding
James Hardie is a famous manufacturer of fiber cement siding, which offers an array of advantages for homeowners. One of its primary benefits lies in its exceptional durability, as it is resistant to fire, rot, pests, and inclement weather conditions. This resilience ensures a prolonged lifespan, sparing homeowners the burden of frequent repairs or replacements. Furthermore, Hardie siding boasts versatility, with an assortment of styles and finishes available, enabling homeowners to tailor their siding to their preferred aesthetic. In terms of investment, this siding can increase your property’s resale value and curb appeal.
Also read: How James Hardie Siding Took Over America’s Homes: A Deep Dive Into Its Origins
If you haven’t bought the materials yet, here are three types of Hardie siding you can choose from:
- HardiePlank® Lap Siding: An authentic wooden plank look

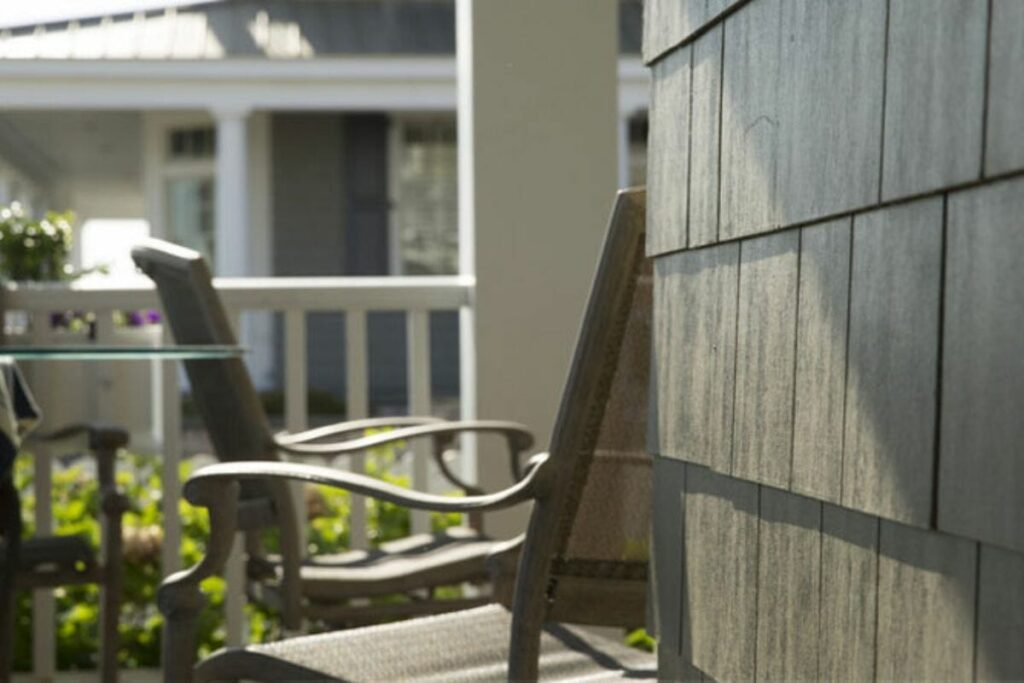
- HardieShingle® Siding: A cedar shake and shingle style

- HardiePanel® Vertical Siding: A versatile board and batten siding

Now, let’s understand the right way to install James Hardie's siding.
How to Install Hardie Siding: A Step-by-Step Guide
The first step is to make sure you have all the right tools and materials.
Step #1 Getting Ready: Gathering the Right Tools and Materials
When it comes to fiber cement siding, you can’t use just any generic all-purpose tools. James Hardie provides a list of specific siding equipment in its installation guide. Here are the tools you need:
- Circular Saw: This tool is crucial for the precise cutting of Hardie siding panels. Be sure to use a blade that is compatible with fiber cement siding.
- Fiber Cement Shears: These shears are designed for clean and efficient cutting of fiber cement boards.
- Nail Gun or Siding Nailer: To secure the siding panels in place, a nail gun or siding nailer is essential for quick and secure fastening.
- Tape Measure: Accurate measurements are vital for a proper fit. A tape measure ensures your siding panels are cut to the correct size.
- Chalk Line: A chalk line helps you create straight and level reference lines for alignment.
- Safety Gear: Safety should always be a priority. Gloves, safety glasses, and a mask are necessary to protect yourself against dust and debris.
- Caulking Gun: To seal seams and joints properly, a caulking gun is required.
- Utility Knife: This tool is handy for trimming and cutting smaller sections of siding.
- Level and Carpenter's Square: These tools ensure your siding is installed evenly and at the correct angles.
- Ladder: Depending on the height of your installation area, a ladder or scaffolding may be needed for access.
- Fasteners and Screws: You'll need the appropriate fasteners and screws for securing the siding to the wall.
- J-Channel and Corner Caps (if needed): These components are used for neatly finishing edges and corners.
Step #2 Preparation: Where Success Begins
Even before you reach for your tools, it's essential to ensure you have all the safety measures in place. Safety always comes first in any home improvement project, and Hardie Siding, known for producing a fair amount of dust when cut, is no exception. Before you begin to install Hardie siding, make sure you have the proper work attire, shoes, eye protection, and dust masks on hand.
Step #3 Substrate Inspection: A Solid Foundation
Your project's foundation is your wall's sheathing. Take a close look to identify any damage or rot that may lurk beneath the surface. Addressing these issues before proceeding is crucial, as they could jeopardize the integrity of your siding. Having a solid base is necessary for a successful installation.
Step #4 Flashing for Protection: Keep the Elements Out
Installing flashing around windows, doors, and corners is a must to protect your home from water infiltration. Choose the right sealants and adhesives to create a watertight seal, safeguarding the interior of your home from the elements. James Hardie recommends sealant products that mention permanent flexibility on the label or guide. Allow the caulk to dry for the specified time for the best results.
Step #5 Plan the Layout: Aesthetic Alignment
The appeal of Hardie siding is not just about its resilience, it's also about how well it complements a home's architectural features. Plan your siding layout very carefully, making sure it harmonizes with the existing design. Always start from the lowest point of the exterior and work your way up to ensure a symmetrical finish.
Step #6 Precise Cutting: Measure Twice, Cut Once
For a clean and professional appearance, equip yourself with a circular saw featuring a carbide-tipped blade or a specialized Hardie blade. But remember, safety always takes precedence when installing James Hardie siding. Ensure you're in a well-ventilated area, wearing the necessary safety gear.
Step #7 Secure Fasteners: Strong and Stable
Attach the siding using corrosion-resistant nails or screws. Ensuring proper clearances for expansion and contraction due to temperature changes is critical. Securely fastening the siding is essential for the longevity of your installation.
Step #8 Weather Resistance: Mind the Gaps and Joints
Leaving a ⅛ inch gap between siding pieces accommodates the expansion of the boards due to temperature changes. Seal gaps with the appropriate caulk and ensure joints are overlapped correctly to maintain a robust weather-resistant barrier.
Step #9 Painting for Protection: The Finishing Touch
If you are not buying factory-finished boards or panels, you will need to paint the siding after installation. Following the manufacturer's guidelines, apply fiber cement primer and then coat your Hardie siding with compatible paint. This step is vital for safeguarding your siding against moisture and UV damage, ensuring its longevity and aesthetic appeal.
Also read: 10 Captivating James Hardie Siding Colors & Styles In 2023
For a comprehensive, step-by-step guide complete with illustrations, I recommend referring to the James Hardie installation guide. If you want to secure the manufacturer’s warranty and any insurance claim approval, James Hardie recommends choosing a certified and experienced contractor to install Hardie siding on your home.
Schedule a Free Consultation on James Hardie Siding Installation in Pennsylvania
Are you ready to give your home a stunning makeover with James Hardie siding? At McClellands Contracting and Roofing, our dedicated team of experts specializes in updating your home so that you'll fall in love with it all over again. With a proven legacy of craftsmanship, we're your ideal choice for transforming your home's exterior. Get in touch with our experts at (412) 353-5660 and schedule a free consultation and estimate on James Hardie siding installation in Pennsylvania. Your perfect home upgrade is just a call away!


